Exploding Soapy Pumpkin Volcanoes
We had an EXPLOSIVE responsive to these super fun pumpkin volcanoes! You can make one large pumpkin to observe as a group or use as a demo, but we suggest, if possible, to find tiny pumpkins for each child to have. This science experiment isn’t only fun, there are plenty of learning opportunities. Younger children can make predictions, use their 5 senses to feel and smell, and study “before and after”, and older children can engage in the scientific method while exploring chemical reactions. Use some plastic straws after the eruption to continue the fun (p.s this kept our children engaged for a full hour, and they could have kept going!)
WHAT YOU NEED:
One sugar pie pumpkin for a group or one tiny pumpkin per child (we suggest one tiny per child for more fun, do note they’re more difficult to cut, so give yourself plenty of rep time)
Baking soda
Vinegar
Food coloring (optional)
Dish soap
Water
Straws (optional)
WHAT DO DO:
Using a serrated knife or pumpkin carving tool (ADULT STEP) to remove the top of the pumpkin and it’s stem. Scoop out the inside flesh, pulp, and seeds. Make sure to put these aside for a number of fun activities like pumpkin seed sprouting or roasting, or a sensory bin.
If using one pumpkin for the group, gather the children around a table, placing the pumpkin on a tray or dish to catch any over spill.
Add some warm water to fill whatever pumpkin size you have until it’s about ¼ full.
Add 4-5 drops of dish soap, food coloring (optional, and we like to add two colors and discuss what color it might create!) and a few tablespoons of baking soda depending on the pumpkin size.
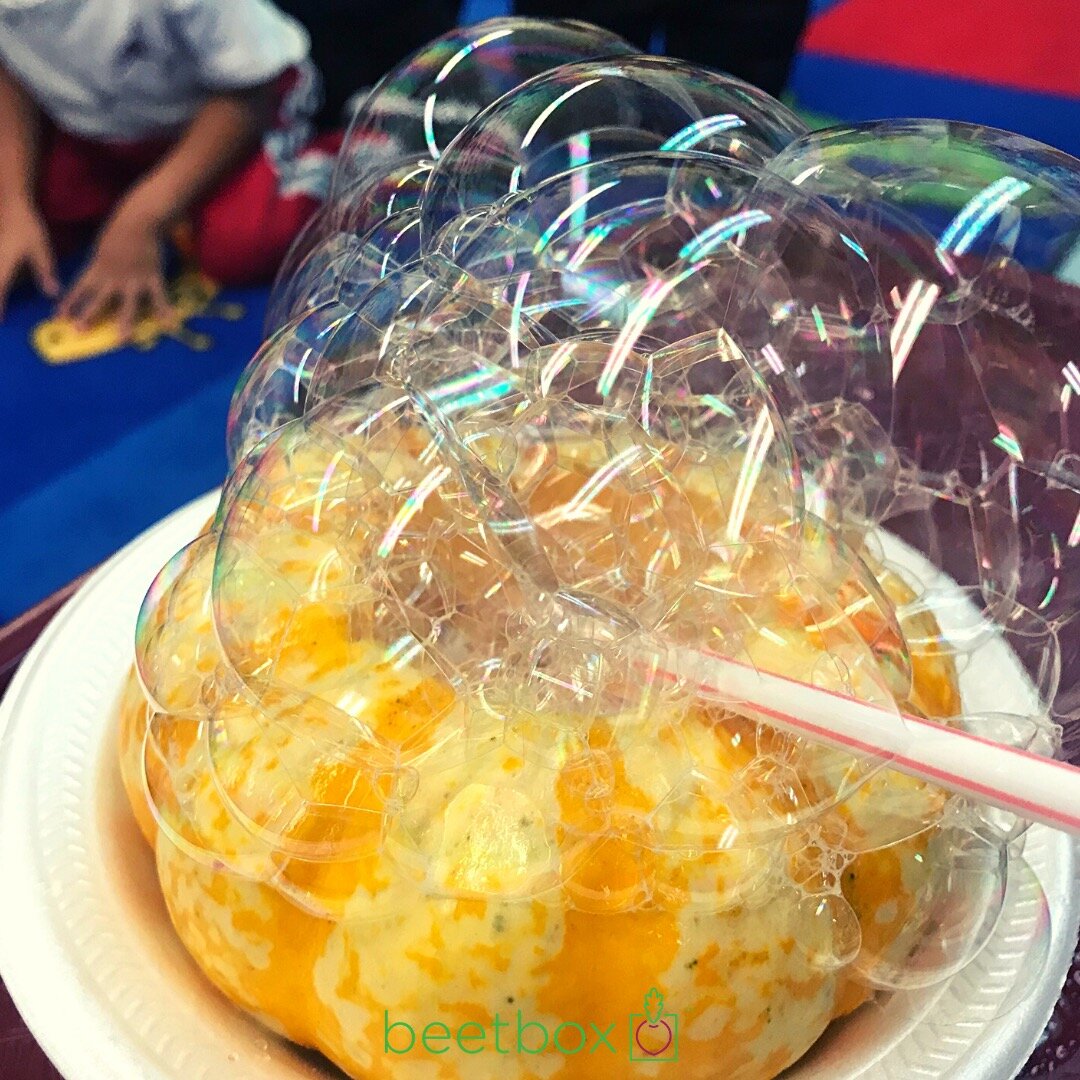
SLOWLY pour white vinegar into the pumpkin until a slimy, soapy, eruption occurs!
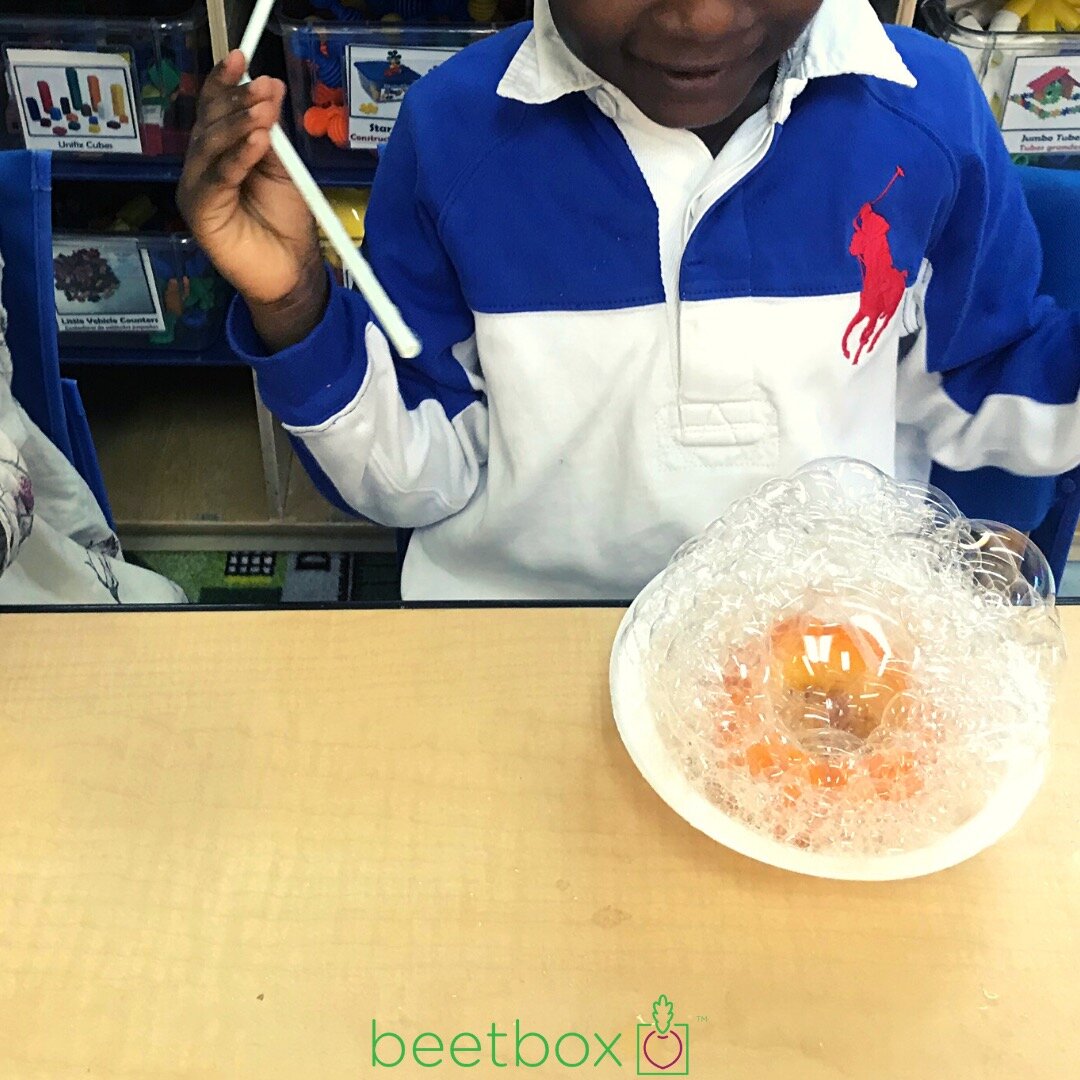
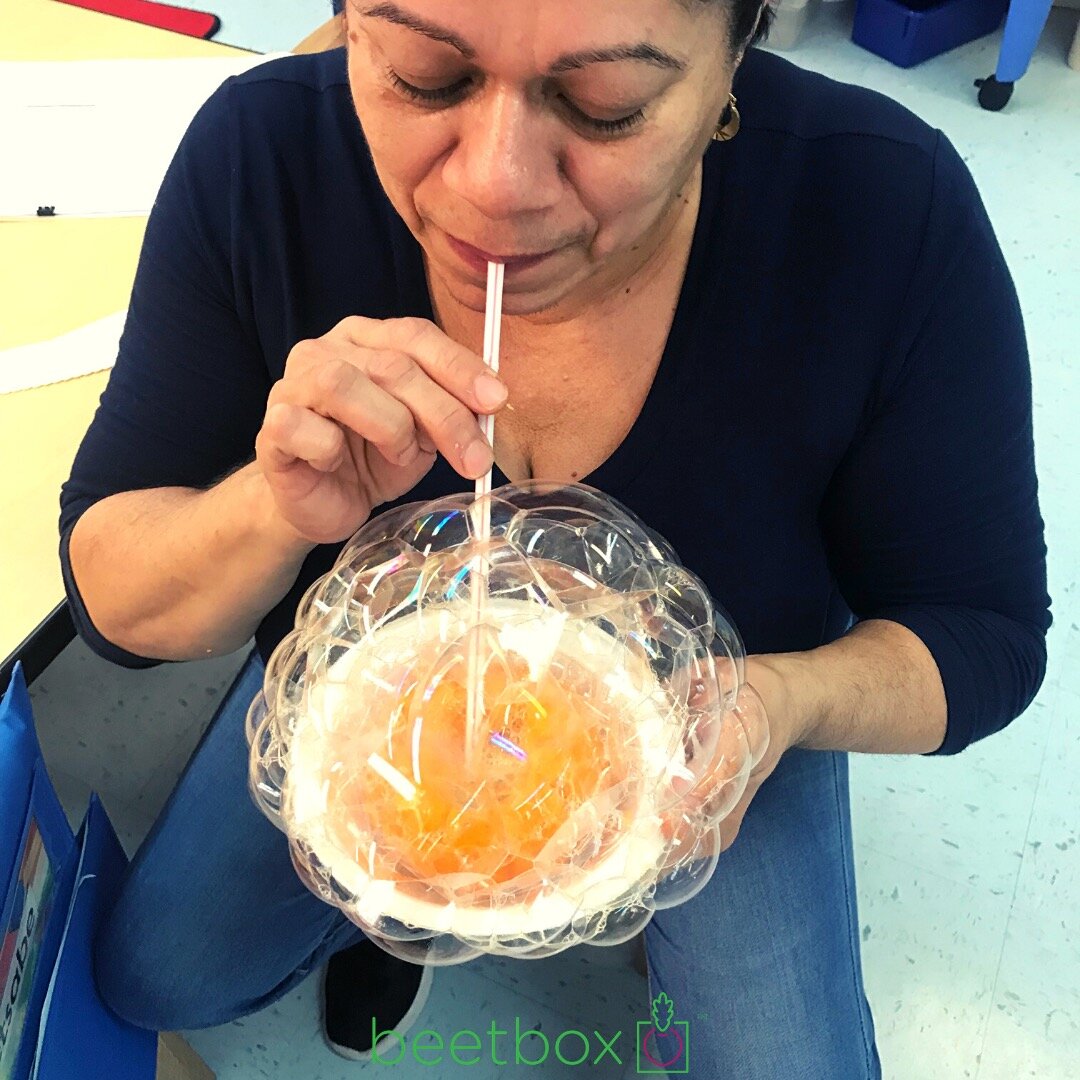
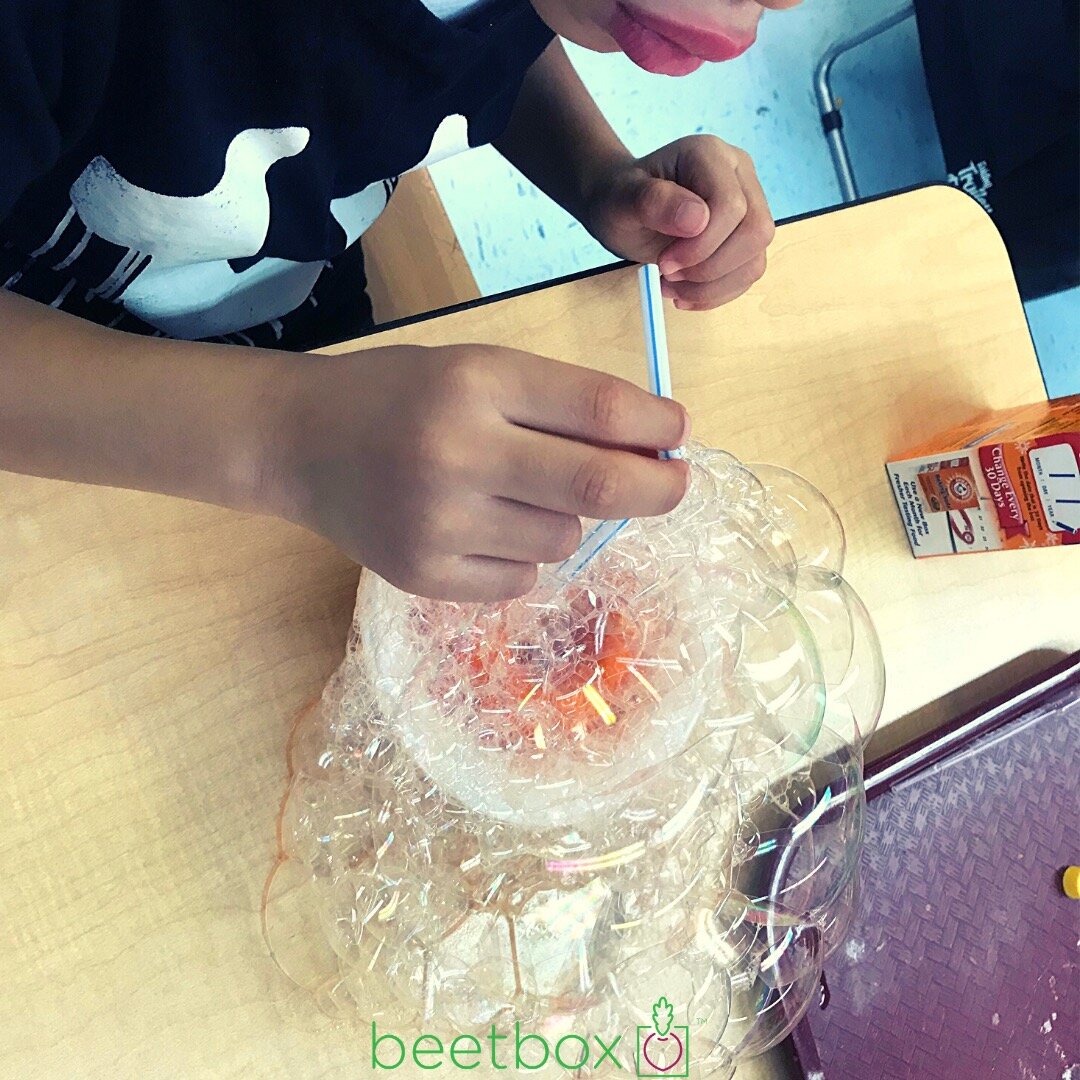
If using tiny pumpkins for each individual child, we recommend allowing them to use straws to explore even further. They can mix, stir, and blow bubbles. Just make sure they’re very clear on instructions to blow air out, and not suck air in. You can practice with them by teaching the to blow a crumpled ball of paper across a table before starting, ensuring they know the difference. And make sure to google ways to reuse or recycle your straws for even more classroom fun.
Want activities, just like this, with all of the materials, sent to your own classroom, every single month? CLICK HERE!